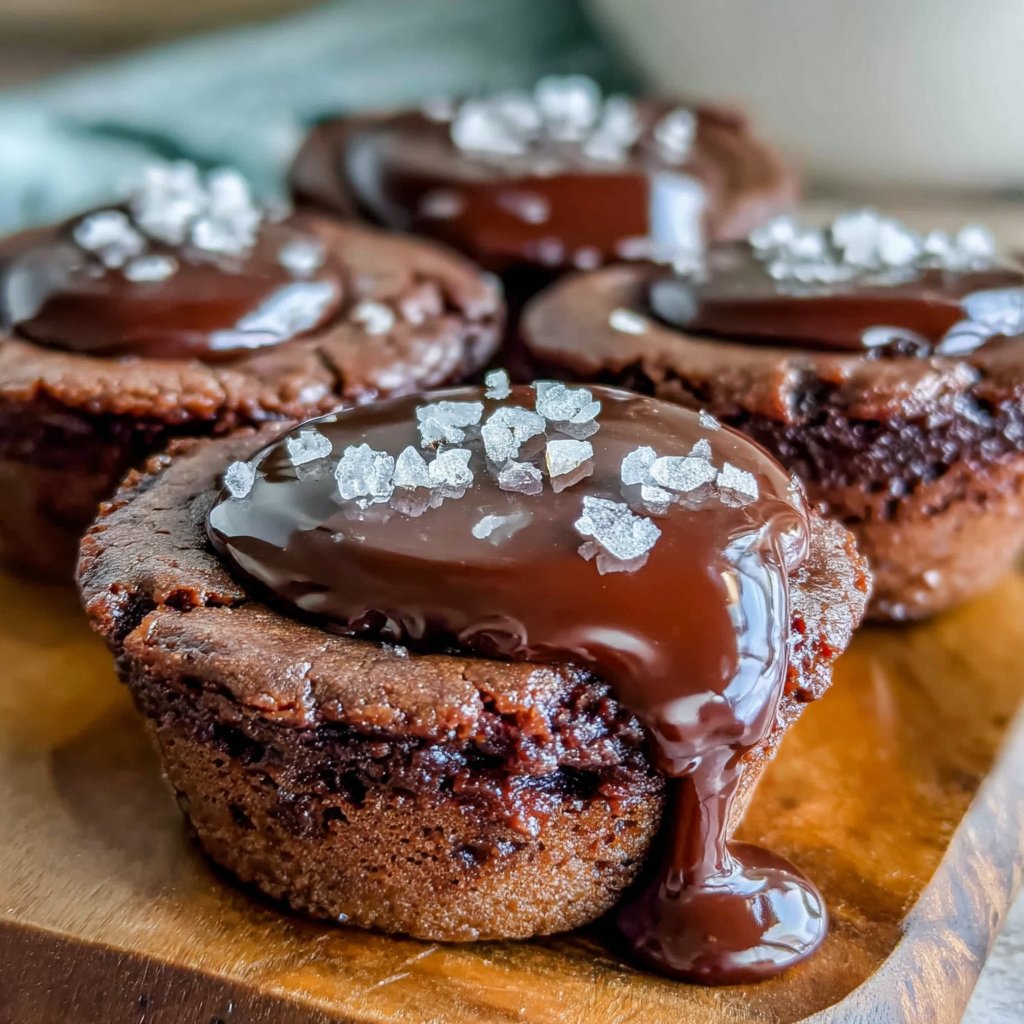
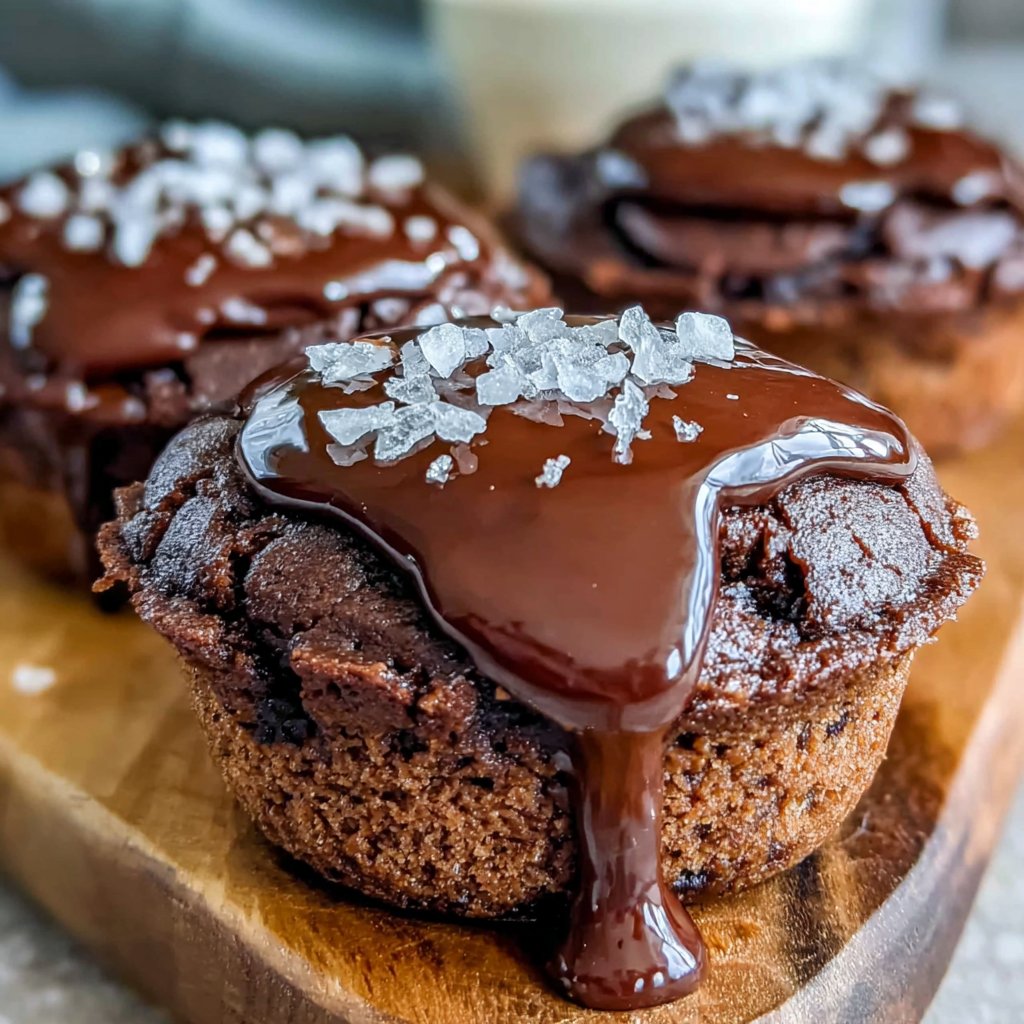
Creamy Chocolate Brownie Cups
Highlighted under: Dessert Recipe Collection
I absolutely adore indulging in rich, chocolatey desserts, and these Creamy Chocolate Brownie Cups are no exception! Each bite is a delightful combination of fudgy brownies topped with a silky, creamy layer that makes them utterly irresistible. I love serving them at gatherings, as they are not only delicious but also visually impressive. Plus, they are surprisingly easy to make, which means I can whip them up any time I need a little chocolate fix or want to impress my friends!
When I first created these Creamy Chocolate Brownie Cups, I wanted to combine the best of both worlds: fudgy brownies and a creamy topping. I experimented with different ratios of chocolate and cream until I found the perfect balance that allows both flavors to shine. The addition of a touch of espresso powder enhances the chocolate flavor, making it even richer!
I learned that baking these cups in a muffin tin helps them maintain their shape and ensures that every brownie is perfectly portioned. This method also saves on cleanup since you don’t need to cut them into squares. Trust me, once you try these beauties, they will become a go-to dessert in your recipe repertoire!
Why You'll Love This Recipe
- Rich chocolate flavor paired with velvety creaminess
- Perfectly portioned for a delightful dessert experience
- Easy-to-make recipe that impresses everyone
Understanding the Brownie Base
The brownie cups form the foundation of this dessert, providing a rich and fudgy texture that contrasts beautifully with the creamy topping. Ensuring the butter is melted over low heat helps to maintain a glossy finish in the batter, preventing any graininess from sugar that can occur if the heat is too high. Be careful not to overmix the batter; combining just until you see no dry flour prevents the brownies from becoming tough and ensures a chewy end result.
Baking the brownie cups for the right amount of time is crucial. You'll want to remove them from the oven when the edges are set but the center still looks slightly soft. This will typically be around 20-25 minutes at 350°F (175°C). A toothpick inserted should come out with a few moist crumbs, not clean, to ensure that fudgy texture that makes these brownies irresistible.
Crafting the Perfect Creamy Topping
The creamy topping is what truly elevates these brownie cups. Using heavy cream whipped to stiff peaks creates a light and airy texture that balances the density of the brownies. It's essential to chill the mixing bowl and beaters beforehand; this ensures the cream whips quickly and effectively, achieving those perfect peaks that hold shape without deflating.
When it comes to the cream cheese mixture, make sure it's softened at room temperature for about 30 minutes before you start. This will prevent lumps and allow for a smooth incorporation with the powdered sugar and vanilla. If you want a lighter flavor, you can even experiment with flavored cream cheese such as chocolate or vanilla bean, but keep in mind this may alter the final taste profile slightly.
Serving and Storing Your Brownie Cups
These brownie cups can be served immediately after assembly, but they also benefit from some chill time in the refrigerator. Allowing the creamy topping to set for at least 30 minutes makes it easier to serve and enhances the flavor as it melds together. They are perfect for gatherings and can be made ahead of time, lasting in the fridge for up to three days—though I doubt they will last that long!
For a fun twist, consider adding seasonal toppings that complement the chocolate flavor. Fresh berries, such as raspberries or strawberries, add tartness and color, while a drizzle of caramel or raspberry sauce can bring an addictive sweetness. If you're looking for a twist, try swirls of peanut butter in the creamy topping for a delightful combination of flavors.
Ingredients
Gather these simple ingredients to get started:
For the Brownie Cups
- 1/2 cup unsalted butter
- 1 cup granulated sugar
- 2 large eggs
- 1 teaspoon vanilla extract
- 1/3 cup unsweetened cocoa powder
- 1/2 cup all-purpose flour
- 1/4 teaspoon salt
- 1/4 teaspoon baking powder
For the Creamy Topping
- 1 cup heavy cream
- 8 oz cream cheese, softened
- 1/2 cup powdered sugar
- 1 teaspoon vanilla extract
- Chocolate shavings for garnish
Make sure to have everything ready before you start baking!
Instructions
Follow these straightforward steps to create your brownie cups:
Preheat the Oven
Preheat your oven to 350°F (175°C) and grease a muffin tin.
Make the Brownie Batter
In a saucepan, melt the butter over low heat. Remove from heat and stir in sugar, eggs, and vanilla. Stir in cocoa, flour, salt, and baking powder until just combined.
Bake the Brownies
Spoon the brownie batter into the greased muffin cups, filling each about halfway. Bake for 20-25 minutes. Let cool in the tin for 10 minutes before transferring to a wire rack.
Prepare the Creamy Topping
In a medium bowl, whip the heavy cream until stiff peaks form. In another bowl, beat the cream cheese until smooth, then mix in the powdered sugar and vanilla. Fold the whipped cream into the cream cheese mixture until well blended.
Assemble the Cups
Once the brownie cups have completely cooled, spoon or pipe the creamy topping onto each cup and garnish with chocolate shavings.
Serve chilled or at room temperature and enjoy!
Pro Tips
- For an extra touch, feel free to experiment with different flavorings in the creamy topping, such as peppermint or almond extract.
Troubleshooting Tips
If your brownie cups end up dry, it may be a sign of overbaking. Always use the toothpick test to check for doneness, aiming for that slightly underbaked center to capture the fudgy texture. Conversely, if they remain too gooey, returning them to the oven for a few more minutes can help finish them off without ruining the overall fudginess.
In the case of the creamy topping separating, it’s often due to overmixing, which can cause the whipped cream to break down. Make sure to fold gently into the cream cheese mixture. If this occurs, you can try chilling the mixture and re-whipping gently to restore some stability before serving.
Ingredient Substitutions
If you need to make these brownie cups dairy-free, there are great substitutes available. Use a dairy-free butter alternative and substitute the heavy cream with coconut cream for a deliciously creamy topping. The coconut flavor will marry wonderfully with the chocolate, and you'll still achieve that luscious texture you're after.
For a gluten-free version, simply replace all-purpose flour with a 1:1 gluten-free flour blend. Always ensure to check labels on your other ingredients, such as baking powder, to confirm they are gluten-free, especially if you’re serving those with sensitivities.
Questions About Recipes
→ Can I make these brownie cups ahead of time?
Absolutely! You can prepare the brownie cups a day in advance and cover them. Add the creamy topping just before serving for the best texture.
→ What if I don't have a muffin tin?
You can use silicone molds or even bake the brownie batter in a small square pan and cut into squares for serving.
→ How should I store leftovers?
Store any leftovers in an airtight container in the refrigerator for up to 3 days.
→ Can I freeze the brownie cups?
Yes, you can freeze the brownie cups without the topping for up to 2 months. Just thaw them in the refrigerator before adding the creamy layer.
Creamy Chocolate Brownie Cups
Created by: The Quickbitehub Team
Recipe Type: Dessert Recipe Collection
Skill Level: Beginner
Final Quantity: 12 cups
What You'll Need
For the Brownie Cups
- 1/2 cup unsalted butter
- 1 cup granulated sugar
- 2 large eggs
- 1 teaspoon vanilla extract
- 1/3 cup unsweetened cocoa powder
- 1/2 cup all-purpose flour
- 1/4 teaspoon salt
- 1/4 teaspoon baking powder
For the Creamy Topping
- 1 cup heavy cream
- 8 oz cream cheese, softened
- 1/2 cup powdered sugar
- 1 teaspoon vanilla extract
- Chocolate shavings for garnish
How-To Steps
Preheat your oven to 350°F (175°C) and grease a muffin tin.
In a saucepan, melt the butter over low heat. Remove from heat and stir in sugar, eggs, and vanilla. Stir in cocoa, flour, salt, and baking powder until just combined.
Spoon the brownie batter into the greased muffin cups, filling each about halfway. Bake for 20-25 minutes. Let cool in the tin for 10 minutes before transferring to a wire rack.
In a medium bowl, whip the heavy cream until stiff peaks form. In another bowl, beat the cream cheese until smooth, then mix in the powdered sugar and vanilla. Fold the whipped cream into the cream cheese mixture until well blended.
Once the brownie cups have completely cooled, spoon or pipe the creamy topping onto each cup and garnish with chocolate shavings.
Extra Tips
- For an extra touch, feel free to experiment with different flavorings in the creamy topping, such as peppermint or almond extract.
Nutritional Breakdown (Per Serving)
- Calories: 220 kcal
- Total Fat: 16g
- Saturated Fat: 10g
- Cholesterol: 50mg
- Sodium: 120mg
- Total Carbohydrates: 20g
- Dietary Fiber: 1g
- Sugars: 15g
- Protein: 2g